


A great way to learn is to teach someone else. Explaining something forces you to organize the information in your mind and helps you remember it.
***
In this lesson, we go EXTREME!
Extreme angles are usually very challenging and frequently ignored by most artists even some advanced. Studying the extreme angles will make you better at the more common angles because you’ll have a better understanding of the method.
The Z-AXIS
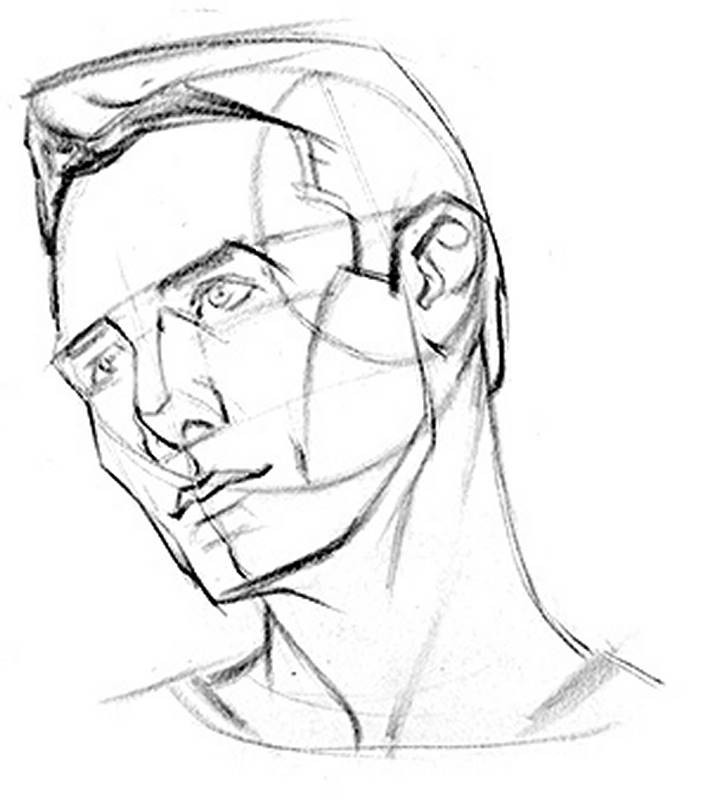
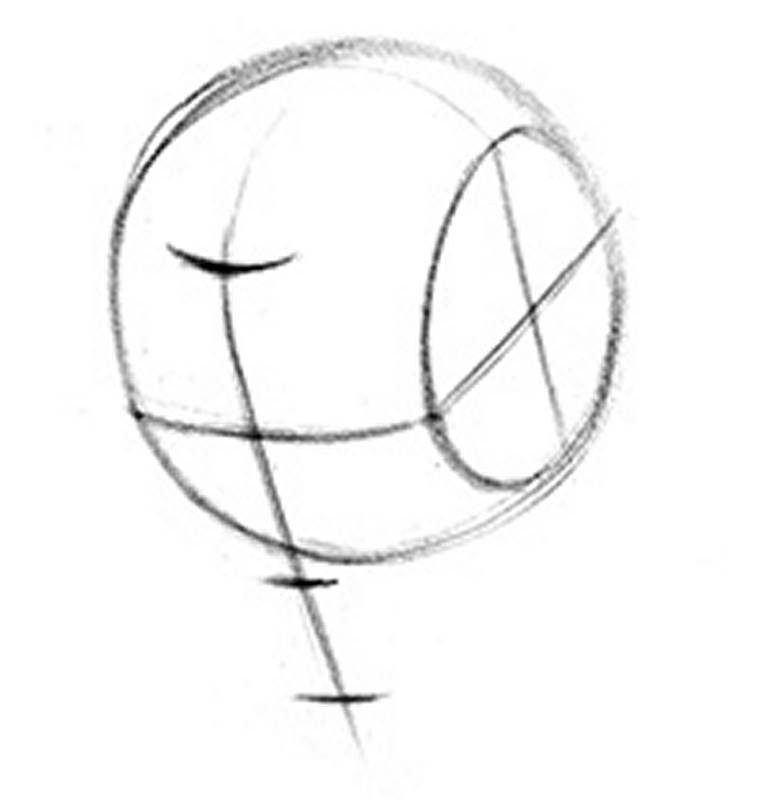
Let’s start by talking about rotation along the z-axis, or leaning the head to the side. This has a few important effects. First, the center line and brow line will be at an angle. Second, the side plane will go down to reveal more of the top of the head or up to reveal more of the bottom.
And the ellipse of the side plane will be angled perpendicular to the brow line. This is caused by the ellipse being in perspective.
To get the proper angles on the front and side planes, remember that the head can be simplified into a box to visualize the perspective.
The third effect a twist has is on the gesture of the neck. Look for the curve. No lollipop necks, please.
The concept of stretch and pinch applies here too.
The X-AXIS
Now, let’s take a look at extreme up and down tilts along the x-axis. I always look for the degree of the tilt by observing the angle from ear to brow. Find the angle of the brows and then the thirds. Remember what we learned in part 2 of this series about foreshortening.
The thirds will get smaller as they recede from us. So, in an up tilt, the bottom third will be about the same size as half of the side plane, and the forehead will be fairly small. And the opposite in a down tilt.
A confusing area for most people is the shape of the jaw as the head rotates up and down. During this rotation, the relationship of the corners of the jaw and bottom of the chin will change. As a person looks up, the chin will come up and at one point be in line with the jaw, creating a boxy shape. If you keep going the shape actually inverts and you get the opposite triangle. In an up tilt you’re also seeing the bottom plane of the jaw, which wraps around the cylindrical neck. As a person looks down, the jaw shape becomes more triangular.
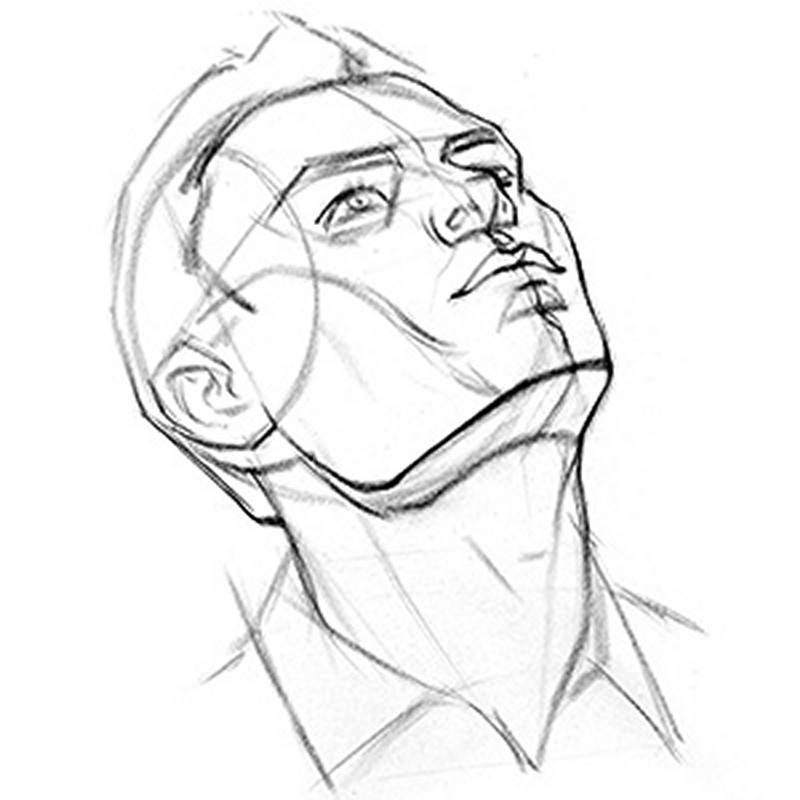
Another common area of frustration is the tip of the nose. In an extreme up tilt, the tip will be unusually close to the eyes. It’s so unusual that most of us will feel like we need to move it down to lengthen the nose. Observe the shape of the bottom plane of the nose and compare it to the length of the middle third.
It’s important to remember that the eyes and lips are not flat on the face. They are rounded in their simplest forms. So, observe the curvature of these features as they wrap around those forms.
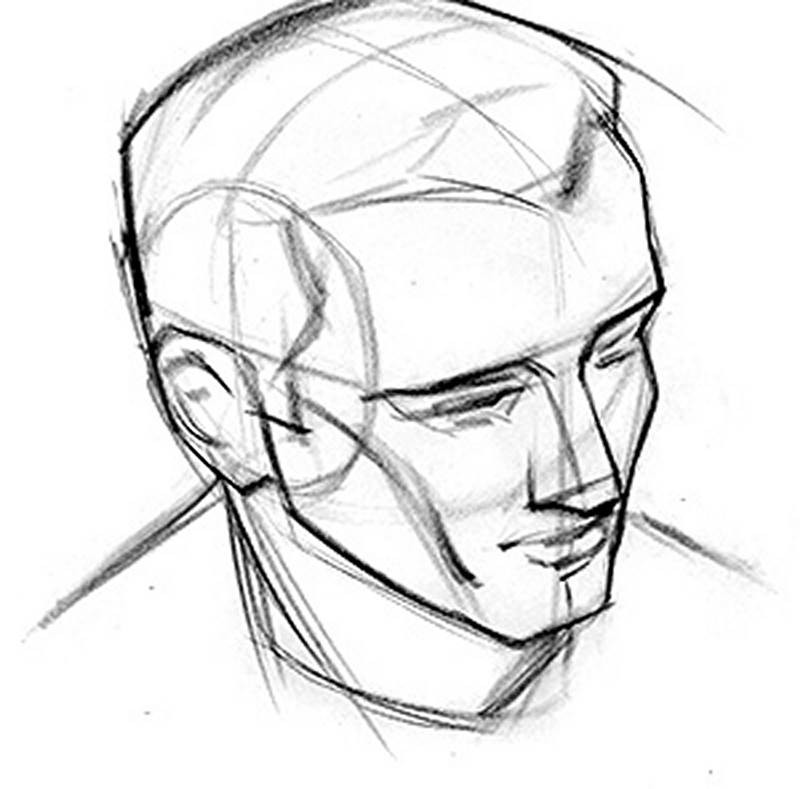
The Camera
We’ve covered the extreme rotations along the 3 axes, the only thing left is the effect of moving the camera, or vantage point of the viewer, above or below the head. When this happens, the side plane rises or drops, similar to the twist, but this time without changing the angle of the center-line. The neck will be mostly covered by the head, and we just see shoulders.
Like what you learned? Check out the next lesson on how to draw eyes!
Draw the Loomis Head - Extreme Angles
Now you can draw the head from ANY angle. Start by drawing some extreme head angles from imagination. Test yourself to see if you fully understand the loomis head forms. Then check your work with the 3D Loomis Head model. Practice drawing a few more angles by placing the model in angles you are having trouble with. The goal is to challenge yourself and overcome your weaknesses.


