How to Draw the Head from Any Angle
This lesson has a premium version with extra content. Get it now!

Portrait Drawing Fundamentals

The Loomis Method

How to Draw the Head from Any Angle

10.0M
Mark as Completed

How to Draw the Head from Any Angle

10.0M
Mark as Completed

Draw the Loomis Head

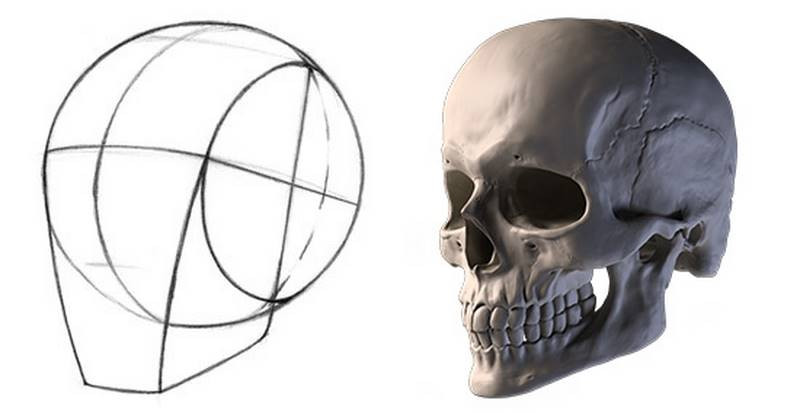
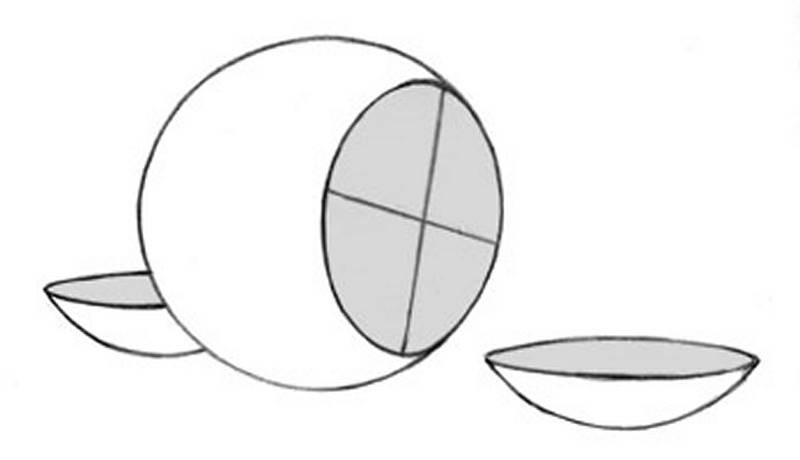
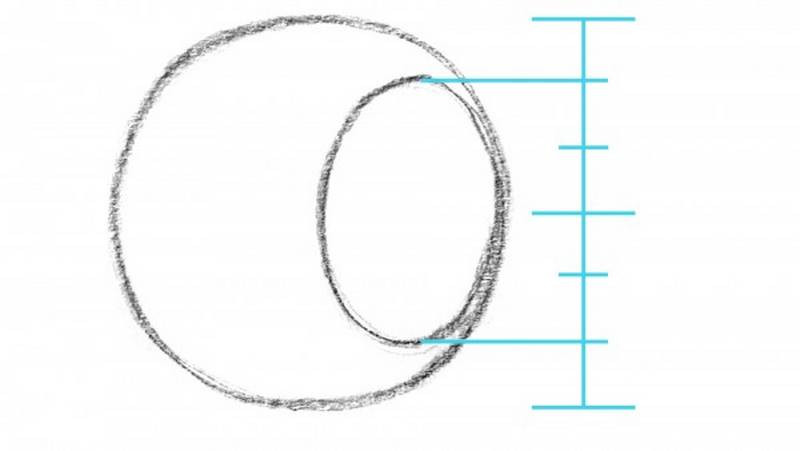
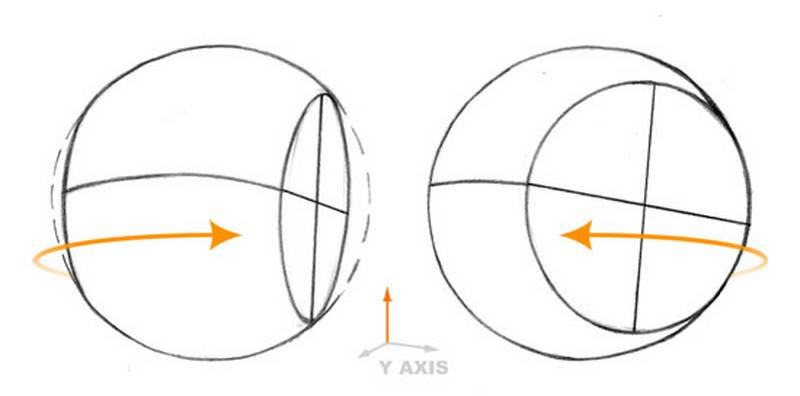
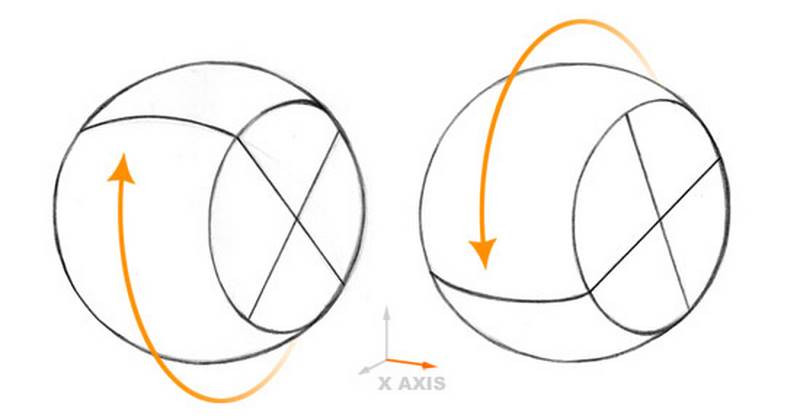
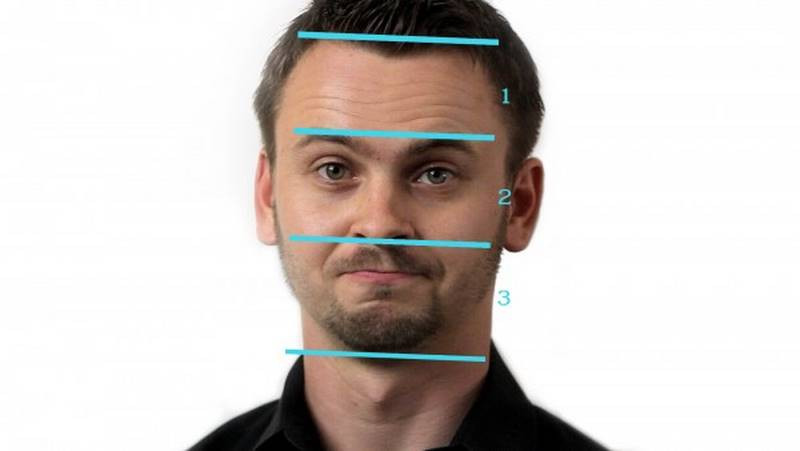
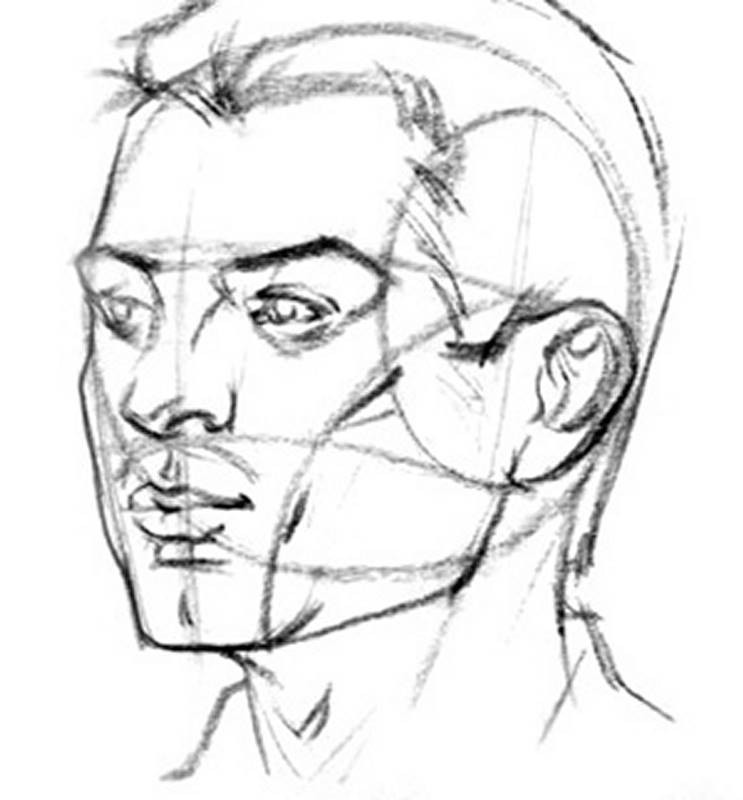
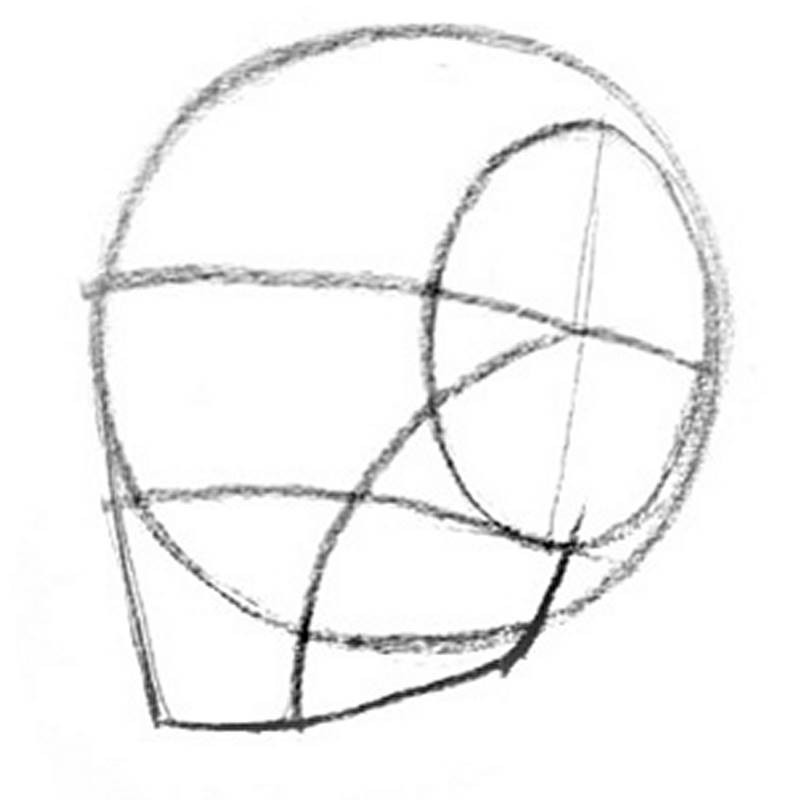
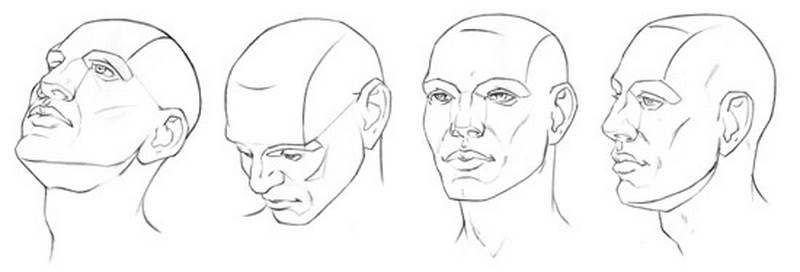
Take a bunch of pictures of either yourself or someone else and then use them to construct the head using the Loomis method. Focus on getting the up and down tilt correct. Make sure to make careful measurements that I mentioned in this video and keep your lines clean. Remember that every person has individual proportions that will be different from the average loomis head. At this point, just draw the average proportions. Once you’re comfortable with that, you can try to capture the distinct characteristics of the person you’re drawing.

If you’re having trouble drawing the circle or oval of the head, spend some at the beginning of each day warming up your hand with a lot of circles and oval.

Submit your assignments here
Drop images here to attach them to the message
Newest
Noe Luis
Day 2 in studying the Loomis method trying to stay consistent any tips on that
Write reply...
Drop images here to attach them to the message
Bryan
I struggled with how much of the side I needed to have for number three and I get a little lost with how to place the chin when it is raised a bit.
Write reply...
Drop images here to attach them to the message
Vue Thao
I'll help you whenever I have time. Just hold on there. :)
Reply
Noe Luis
Day 1 in studying the Loomis method. Critic my drawings if you can and have a great day.
Write reply...
Drop images here to attach them to the message
Vue Thao
Hold your reins. I'll help you after I finish my projects first. :)
Reply
tani123
NEW HERE !!!
Write reply...
Drop images here to attach them to the message
sahij
same here
Reply
Jesper Axelsson
Hi @tani123, Welcome! 😊 Nice studies! These feel carefully drawn👍I think you did a good job, dividing the face into thirds and wrapping the lines around the forms to give a sense of three dimensionality. I'll do my best to help you further: - Definitely check out the Drawing Basics course. It will give you a strong foundation to build upon, and seems like a lot of fun. Also, since it's still in the making, you have the chance of getting feedback from Stan himself, if you catch up with the assignments. Hope this helps :) Let me know if you have any questions! PS. try to take the picture parallel to your artwork, to avoid distortions. Also try to avoid casting shadows onto it when photographing. It's easier to give feedback when the drawings are clearly lit.
Reply
cesarcarlos
Hi all, new on the course. Been trying some loomis heads. Also, trying to set up my sketchbook at an angle which feels a little weird (I usually draw flat on the desk). Also trying the overhand grip but always end up going back to the tripod grip.
Write reply...
Drop images here to attach them to the message
Jesper Axelsson
Hi @cesarcarlos, I think these drawings look really nice. Pretty good construction and nice linework. - Draw through the forms as if the head was made out of glass, to make sure that the construction is strong. Find the construction lines on the visible side, but also do the same for the non visible side. Check if you've made the two sides of the head symmetrical by running perspective lines back and forth. How much experience do you have in drawing? What courses have you taken? Have you learned how to draw simple forms, like boxes, cylinders and spheres in perspective? - The overhand grip takes some time getting used to, but it's definitely worth it. Try drawing larger. It's harder to control short strokes with the overhand grip. I like to draw on an A2 paper (roughly 18x24 in inches) Hope this helps :) Let me know if you have any questions!
Reply
Phattara Groodpan
Write reply...
Drop images here to attach them to the message
1doug
Very helpful
Reply
Soul
2mo
Here's some practice for the Loomis method. I mainly focused on getting the measurements with the head and the oval right, it's not much practice yet but I plan to revisit this lesson. I'm mainly trying to work on JUST the Loomis section of this course for 2 weeks then spend 2 weeks on each Facial feature.
Write reply...
Drop images here to attach them to the message
Hilde
Write reply...
Drop images here to attach them to the message
Hilde
Lesson 1 : how to draw the head from any angle.
Reply
h3art
Some portraits I did. Will try to focus more on Loomis heads instead of facial features on the next assignments.
Write reply...
Drop images here to attach them to the message
Jesper Axelsson
Nice! I think you did a good job with the accuracy! I would try the challenge of building the features, rather than outlining them. So instead of drawing the nostrils, you build the nose with its pieces, and the outline of the nostrils is gained automatically from that. Same goes for the other features, like the eyes for example. I think this will make your drawings stronger and add to the three dimensionality and realism. Hope this helps :)
Reply
Linus
I love this course so much, here are two of the portraits I did
Write reply...
Drop images here to attach them to the message
catpoopmaker
This is my practice today,You could give me some suggestions.Thank you!
Write reply...
Drop images here to attach them to the message
Marco Sordi
Hi everybody! Here's my latest anatomy study sheet from Patrick Jones e-book "The Anatomy of Style". Thanks and have a good day.
Write reply...
Drop images here to attach them to the message
katanamumbles
My side view drawings one using a separate reference and another following the video I like to add watercolor to my drawings
Write reply...
Drop images here to attach them to the message
Abby D
I love the pop of color added with the watercolor. The left drawing has a good contrast of linework and color. Thank you for sharing!
Reply
Andrei Kladov
15 mins live portrait sketch, iPad
Write reply...
Drop images here to attach them to the message
Jesper Axelsson
Hi @Andrei Kladov, nice sketch! I like how you managed to sculpt the face with hatching! Apart from this drawing, I also looked through your albums to figure out what advice to give. The main things I would recommend working on are gesture, structure and values. Your drawings could be less stiff, and the construction more solid. With a stronger understanding of values, you'll have an easier time rendering a portrait like this one. If you think practicing those things sounds like a good idea, you might want to try these exercises: - Gesture quicksketches. I would check out this Drawing Demo by Glenn Vilppu and try to mimick his way of working. At 21:00 he explains the process of starting with a flow, then fleshing it out with major forms. - Geometric forms. Practice drawing spheres, cylinders and boxes. You could think of these like vocabulary for the structure language. If you're confident with the individual words, building sentences will be easier. When you draw features, like the eyes for example, try to build them with forms. - Value studies as explained here https://www.proko.com/s/PX9q Make sure to get feedback on your work. Feel free to tag me if you post for any of these exercises💪 Hope this helps :)
Reply
George Kustas
I just started the class, and looking forward to drawing my grandchildren some day.
Write reply...
Drop images here to attach them to the message
Marco Sordi
2023/2/14. Good morning everybody. Here’s my today’s 30 mins warming up exercise. Thanks and have a good day.
Write reply...
Drop images here to attach them to the message
squeen
excellent! Perhaps soften the shadow transition on the cheek?
Reply
Marco Sordi
2023/2/12. Good morning everybody. Here's my latest anatomy study sheet. Thanks and have a good Sunday.
Write reply...
Drop images here to attach them to the message
Miroslav Reljic
Love it!
Reply
Marco Sordi
2023/1/27. Good morning everybody. Here's my latest study about the head proportions. Thanks for any comment or advice.
Write reply...
Drop images here to attach them to the message
Will Heflin
I did some drawings with the 3d model I love it! I am hoping to add more. I need to work on up tilt and Down tilt. pretty excited to get back into drawing..
Write reply...
Drop images here to attach them to the message
Jesper Axelsson
Nice! - I think you would benefit from drawing through the forms (drawing also what's on the non-visible side, lightly). This becomes a huge help when drawing the jaw in difficult positions. Also, practice drawing the head from imagination. It's a great way to test & deepen your knowledge. I like following this routine: 1. Draw from imagination 2. Check were I'm off, with reference. Studying the part I got wrong. 3. Draw again from imagination, spinning the object into a different position. Hope this helps :) Keep up the good work!
Reply
Will Heflin
I worked on some heads I really love the 3d Model I wish I had this when I was taking online classes at Watts back in the day. I like how these show my weakness and what I need to work on sorry my Pencil was pretty lite had to darken it in post doing this traditionally and 18 x 24in smooth need to sharpen the Conte again. I will post more soon. Will
Write reply...
Drop images here to attach them to the message
Gift Cards
Gift card for art students to use on anything in the Proko store
About instructor
Founder of Proko, artist and teacher of drawing, painting, and anatomy. I try to make my lessons fun and ultra packed with information.
Help!
Browse the FAQs or our more detailed Documentation. If you still need help or to contact us for any reason, drop us a line and we’ll get back to you as soon as possible!
Your name
Email
Message