


Check out the Value Study Tool!
Check out the premium course for additional lessons, demos, assignments and critiques!
Let's explore a quick trick in Photoshop that you can use to check your value composition studies. Unlike the Posterize tool, Gradient Maps let you control value thresholds, allowing you to specify where steps between values occur. The Gradient Map reassigns every value in the original image to a different value or color based on the gradient you set.
Add a Gradient Map
Using gradient maps, you can:
- Check Your Work: Apply the gradient map to your notan master studies to see if your value groupings match the groups produced by this perfectly calculated tool. This can help you catch mistakes early.
- Study Masterworks: Apply the gradient map to paintings you admire to deconstruct and understand their value compositions.
In your Layers panel, click on the adjustment layer icon and select Gradient Map. This adds a new layer on top of your image.
With the Gradient Map layer selected, double click on the gradient in the properties panel to open the Gradient Editor.

Adjusting Thresholds
- Default Gradient: A black-to-white gradient will produce a standard black-and-white version of your image.
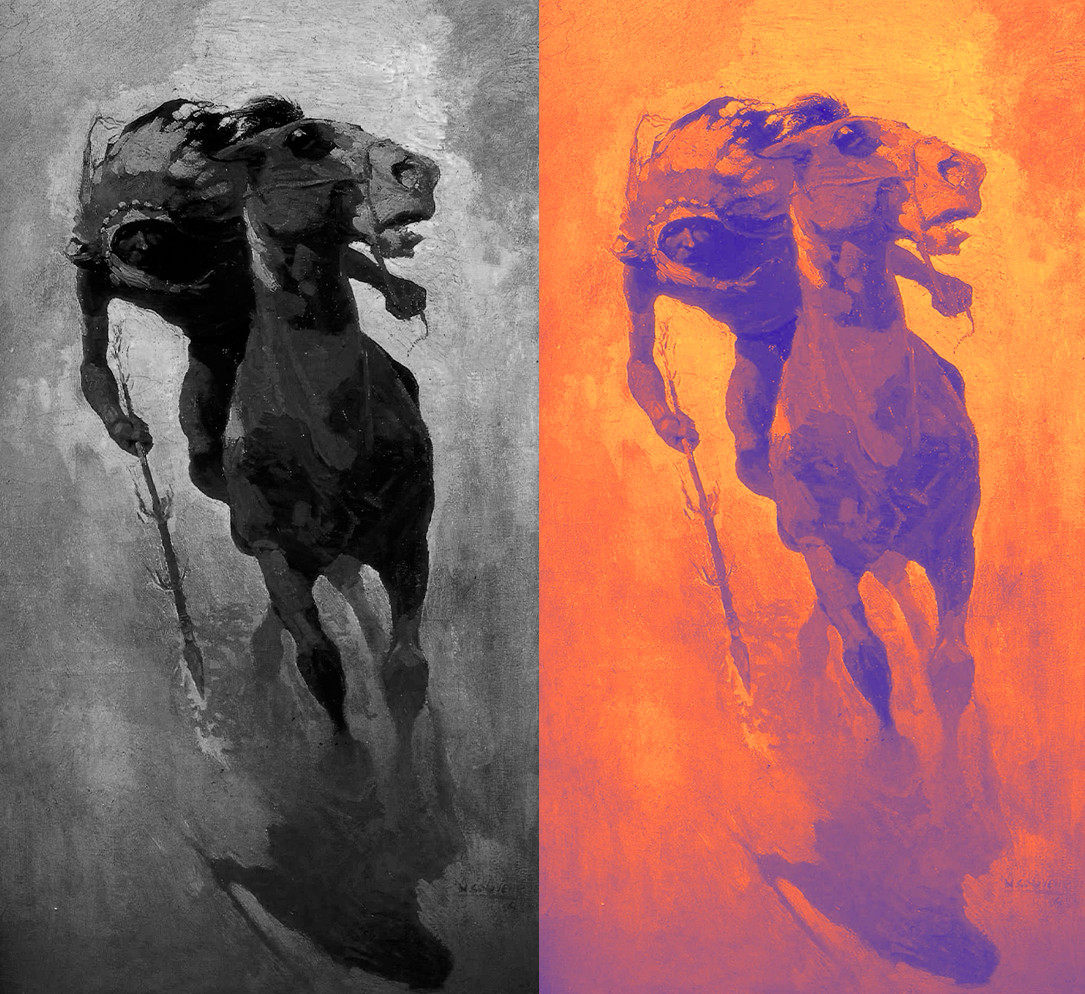
- Changing Colors: You can click on the gradient strip to change the colors. For example, assigning purple to shadows and warm colors to highlights can quickly add a color scheme to your image.
- Adding Value Steps: Click below the gradient strip to add more color stops. This allows you to create multiple values or colors in your gradient map.
- Adding Hard Edges: Between each color stop, there's a mid-marker you can drag to adjust the transition. Moving it closer to a color stop creates a hard edge between values.
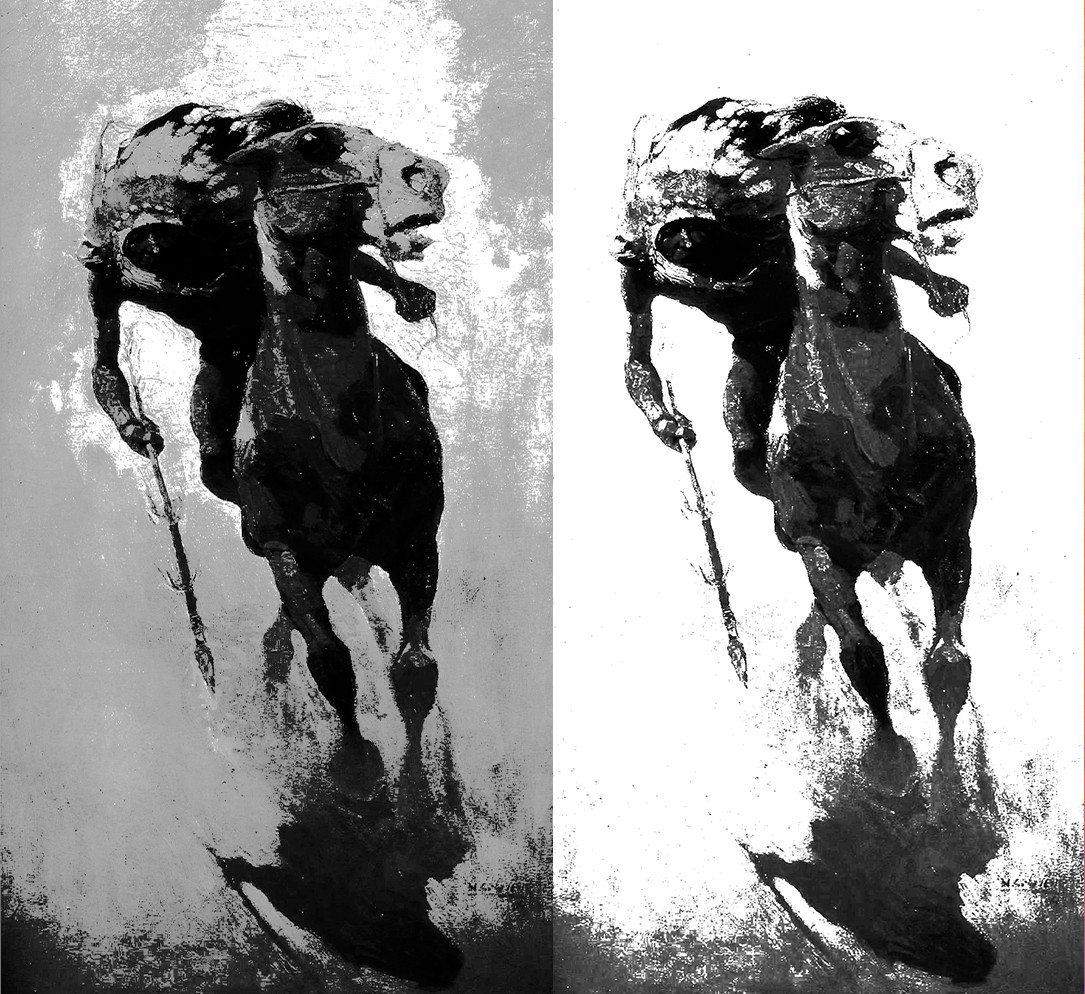
Here are 3 and 2-value versions of the same painting with the thresholds adjusted:
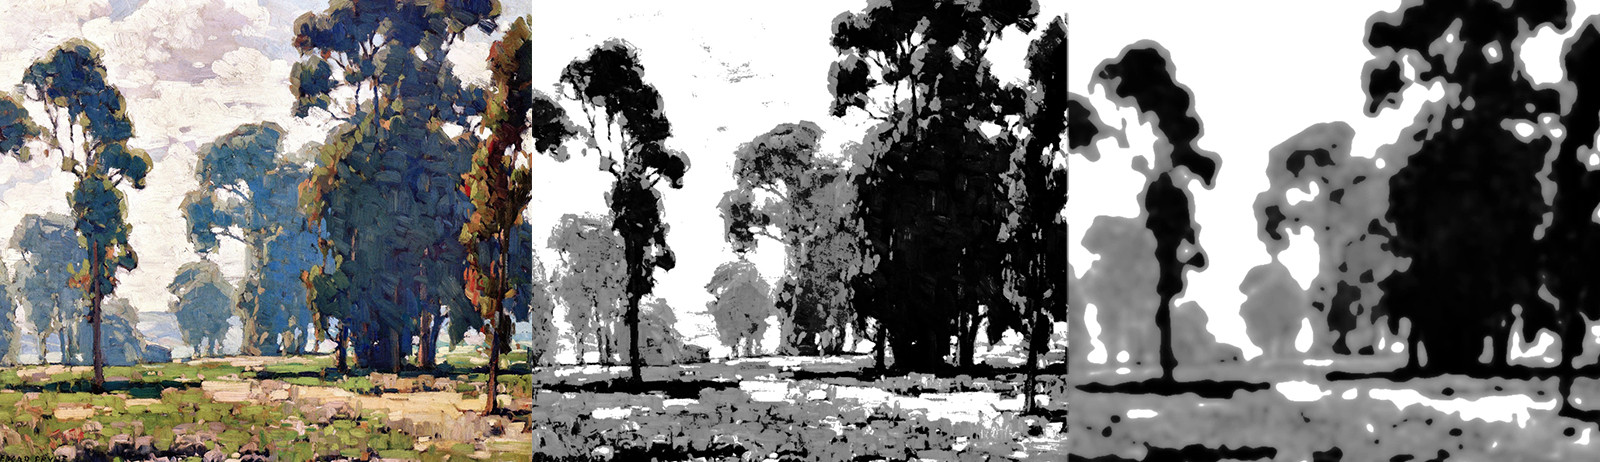
To remove details and simplify the shapes in your composition, simply blur the original image under the gradient map.
Saving Gradient Map Templates
You can save your gradients for future use:
- Save the Gradient: After setting up your gradient, click New in the Gradient Editor to save it.
- Name Your Gradient: Give it a descriptive name, like "3-Value Study".
- Reuse Your Gradient: Next time, simply select your saved gradient from the presets.
The Question of Cheating
You might wonder, "Is using this tool cheating?" The answer depends on how and why you're using it.
Using Tools Responsibly
- As a Learning Aid: If you're using the gradient map to check your work and get feedback, it's a valuable tool that accelerates your learning.
- Avoid Overreliance: Relying solely on the tool without trying compositions on your own can hinder your skill development. You're cheating yourself out of growth.
The Professional Context
- Precision Tasks: In professions requiring precision (like technical illustration), using such tools is acceptable and sometimes necessary.
- Creative Exploration: For artists and illustrators, overreliance on tools can limit creativity. It's important to develop the ability to explore ideas without becoming dependent on precision tools.
* * *
This Gradient Map trick in Photoshop is a powerful way to analyze and improve your value compositions. Use it to get immediate feedback, catch mistakes, and understand the value structures of great artworks. Remember, with great power comes great responsibility, use this tool to enhance your skills, not to replace them.
Check out the premium course for additional lessons, demos, assignments and critiques!


