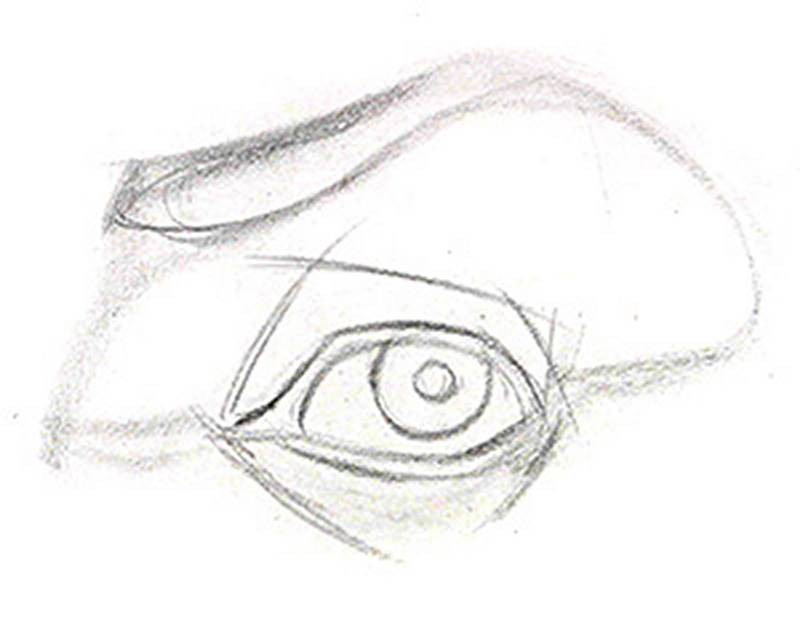
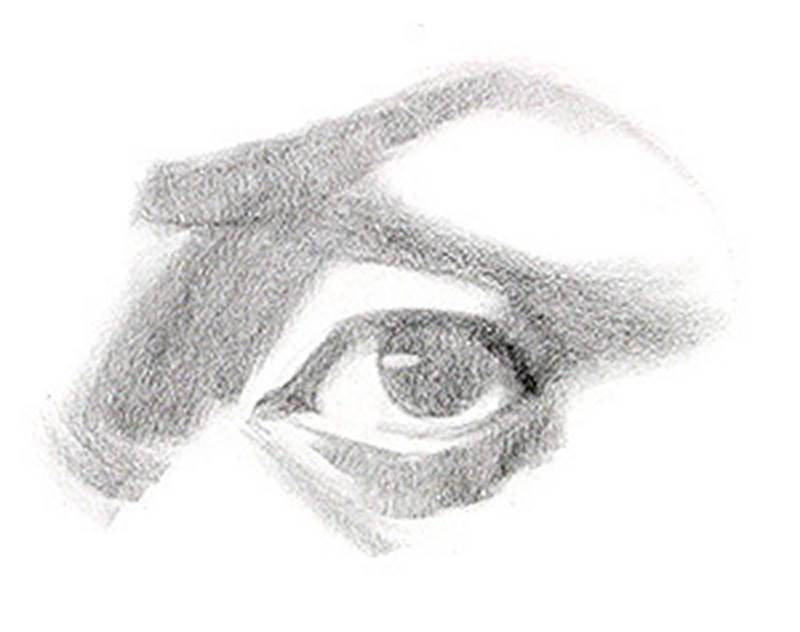
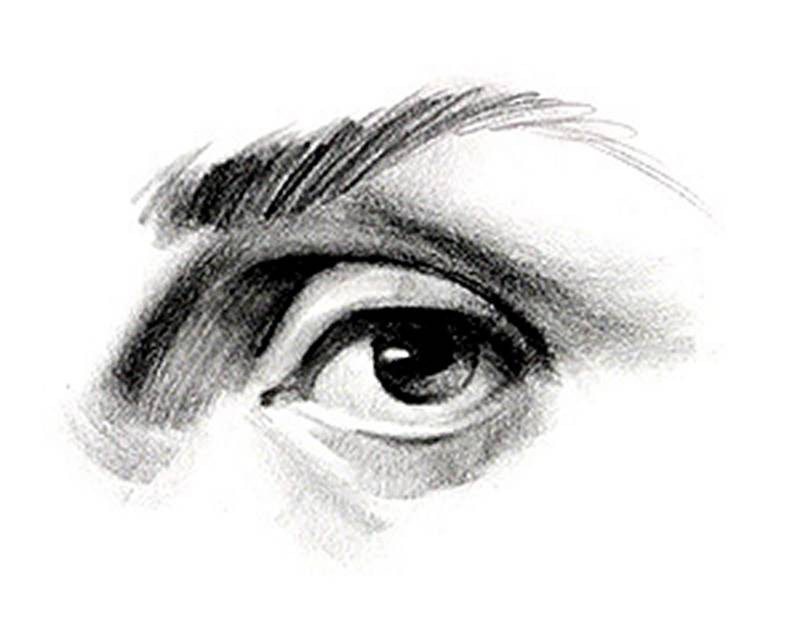
How to Draw an Eye – Step by Step
This lesson has a premium version with extra content. Get it now!

Portrait Drawing Fundamentals

The Features

How to Draw an Eye – Step by Step

1.9M
Mark as Completed

How to Draw an Eye – Step by Step

1.9M
Mark as Completed

Draw the Eyes

Take a picture of your own eye or find some good photos online (get some with clear light and shadows). Follow my step-by-step lesson to complete the drawing. Rewatch the lesson to review all the anatomical details. Those take a few times to understand.

Submit your assignments here
Drop images here to attach them to the message
Newest
h3art
Got a bit carried away with rendering but on the bright side I got better at it.
Write reply...
Drop images here to attach them to the message
Thieum
Really nice and clean work!
Reply
Vue Thao
Another attempt to draw the eyes. This time I drew them in Sketchbook Pro with a charcoal brush, medium and broad. I really enjoyed drawing the eyes of both females and males.
Write reply...
Drop images here to attach them to the message
Vue Thao
I decided to draw eyes and render them digitally. Done in Corel Painter.
Write reply...
Drop images here to attach them to the message
Marco Sordi
Very good! Clean and anatomically very believable.
Reply
Laetitia Roiron
A real great video tutorial, thanks a lot ! It helps me so much :)
Write reply...
Drop images here to attach them to the message
Lenserd martell
I guess I need more practice.
Write reply...
Drop images here to attach them to the message
frankrago
This looks great.
Reply
elkad
The whole approach to shading is super helpful, I normally have trouble managing values but focusing on just shadow or light area simplified things greatly. Personally I feel a little weak on identifying and simplifying shapes but let me know if you have any other feedback, thanks :)
Write reply...
Drop images here to attach them to the message
Lynn Hann
I like your shading. It's very smooth and I can't tell if it's done on computer or with markers. I think you have done a good job with all the eyes.
Reply
balintradics
Eye assignment, after watching the really amazing step-by-step video twice.
Write reply...
Drop images here to attach them to the message
Jesper Axelsson
Nice! I think you did a good job with the structure and edges. I feel like the forms are quite clearly defined. - When drawing an eye, i think it's a good idea to lightly indicate the entire eyeball in the early stages of the drawing, to make sure that you make it a sphere. In your drawing I get the feeling that the eyeball is slightly oval in form. - You might have made the part of the sclera that's in shadow too light. A helpful trick to get values right, is to squint at the refernce. If you do that, you might notice how the sclera in shadow, merges into a single shapes with the other darks. They are part of the same group. - You could also make the shadows darker, for a clearer read of what's in light and what's shadow. Hope this helps :)
Reply
Marco Sordi
2023/2/5. Good morning everybody. Here's my stylized eye drawing from @Patrick Jones's e-book "The Anatomy of Style". Thanks.
Write reply...
Drop images here to attach them to the message
mishquez
Wow! This helps a lot! Thanks mate :)
Reply
Will Heflin
Posting my work I was apprehensive trying new paper trying to get smooth I like what I did but could have looked better on smooth newsprint. Top is Lay-in and final on bottom thanks! Will
Write reply...
Drop images here to attach them to the message
eshields
I struggled with the shading but it’ll get better With practice. This is my 3rd study and it came out the best. I tend to over elongate the eye so I drew more guide lines to help with proportions. Feedback appreciated especially on proportions!
Write reply...
Drop images here to attach them to the message
canthebean
Hi esheilds. Your bottom eye looks accurate and pretty. I like that you added the shading under her brow. If I were to point anything out, I would go back to the lesson and pay attention when Stan talks about almond eyes. Your eye is very symmetric on the horizontal axis, I believe the shape would be more interesting if the bottom apex was more to the left. Especially since your reference has a really cute droopyness to her eye. This might be causing the eye to feel long? Either way the added structure will help you with preportion. Preportions that you might have gotten a bit blind to- you misjudged the proportion and shape of her eyebrow which makes the eye larger. Her top lid is showing more, which makes her expression calmer in the ref. The waterline- I dont know if this is a preportion issue or a drawing issue. It seems very thin. Its also completely white which makes it pop out too much. I like that you are adding it, but on a person, especially at this angle, It's a lot more subtle. A heavy black outline to show it is a bit severe. Or maybe its that the consistent shape you drew flattens it out, which kills the forshortening. Honestly, I don't know. It just feels like the skin of her lids is like a membrane, so if anyone else has any ideas. You are heading in a good direction I hope that maybe my feedback can help you out. (also a nitpick - this lady has a slight epicanthal fold that crosses over her inner eye - your drawing ends the fold prematurely. It makes sense that you missed this since many people don't practice anatomy on this eye style.)
Reply
Lolo
5mo
I’m not even in this course (yet) but what a great tutorial! I mean yesterday I did a live tutorial on YouTube and that’s how I usually draw eyes (cowboy sketch attached) and today Proko’s tutorial! Gee wiz I’m super pumped on this!
Write reply...
Drop images here to attach them to the message
Samantha Maggard
This is my process that I learned from someone else(can't take credit). I find a reference photo and print it. Then I lay the Loomis/Rhythm lines over the picture. Then I free hand the structure next to the reference photo. My goal is to do this for a couple months till it just comes more naturally. Then I am going to start working on adding the features. Just thought I would share.
Reply
Samantha Maggard
Big improvement. I think I may have to buy his portrait drawing class too. I've been just practicing lay ins only and want to get that nailed down before I move on.
Reply
scottrhall1985
Hey, first time poster, long time learner here. My assignment. Didn't have the time and patience to get the charcoal pencils out, so used a pencil for lay in, n3 grey marker for my shadow value, n1 grey for blending, and black pens for my darkest values. Looking at it, I was reaching for darker values matching my black value, and even layering the n3 a few times wasn't enough. But that's what I have, and it helped to show the fundamentals of the exercise, and turned out pretty charming in the end. Critique welcome.
Write reply...
Drop images here to attach them to the message
Sita Rabeling
First take on the eye assignment. Charcoal pencil on news print.
Write reply...
Drop images here to attach them to the message
Artūras ČIvas
My attempts after the lesson
Write reply...
Drop images here to attach them to the message
draft_al
The front view of the right eye is on the money. They're all really good, it's just that that one looks best. I'm thinking the 3/4 view may need a bit more playtime with the values and it would make it pop up more.
Reply
momo
6mo
You can see a huge improvement from eye 1 to 16 :D
Write reply...
Drop images here to attach them to the message
J Menriv
Eye - Step by step practice
Write reply...
Drop images here to attach them to the message
maciek szczech
5 steps are very helpful, thanks. Continuing practice, practice and practice. Below just one sketchbook page based on above video.
Write reply...
Drop images here to attach them to the message
jdobson004
Write reply...
Drop images here to attach them to the message
Jesper Axelsson
Hi @jdobson004, nice work! I looked through both of your posts and I really like that you give the eyelids thickness and that you're clearly wrapping them around the spherical eyeball, giving the drawing a strong feeling of structure. - Try to use photos that have a clear separation of light and shadow. That will make it easier to follow Stan's step by step process, where step 2 is separating light and shadow. Hope this helps :)
Reply
jdobson004
Write reply...
Drop images here to attach them to the message
shanon
Any critics? Thanks
Write reply...
Drop images here to attach them to the message
Gift Cards
Gift card for art students to use on anything in the Proko store
About instructor
Founder of Proko, artist and teacher of drawing, painting, and anatomy. I try to make my lessons fun and ultra packed with information.
Help!
Browse the FAQs or our more detailed Documentation. If you still need help or to contact us for any reason, drop us a line and we’ll get back to you as soon as possible!
Your name
Email
Message