How to Draw Lower Back Muscles – Form
This lesson has a premium version with extra content. Get it now!

Anatomy of the Human Body

Torso(163 Lessons)
0% completed
Lower Back Muscles

How to Draw Lower Back Muscles – Form

10K
Mark as Completed

How to Draw Lower Back Muscles – Form

10K
Mark as Completed

Assignment

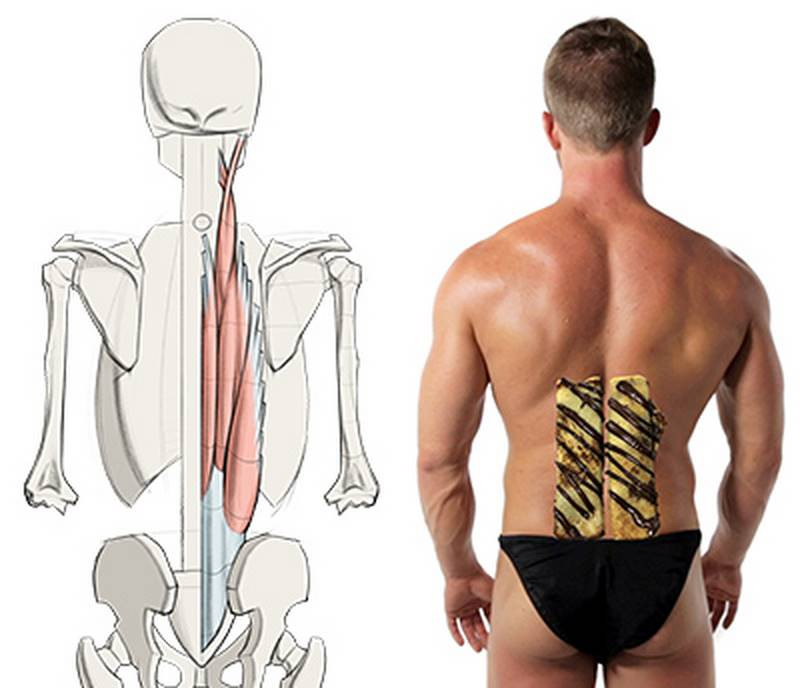
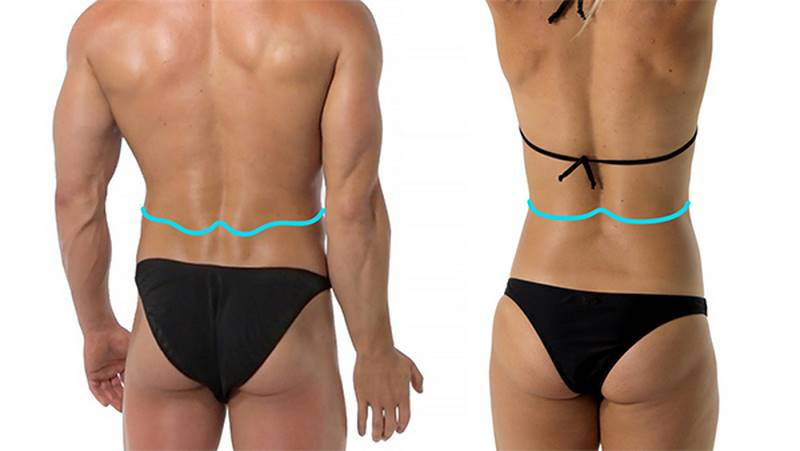
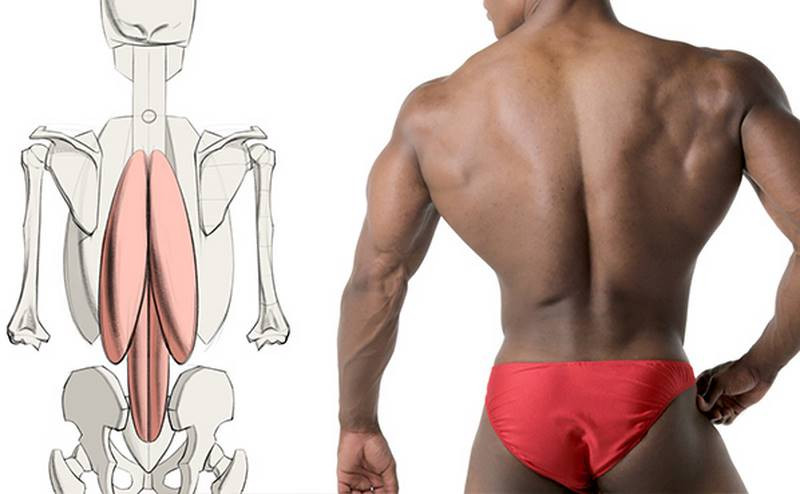
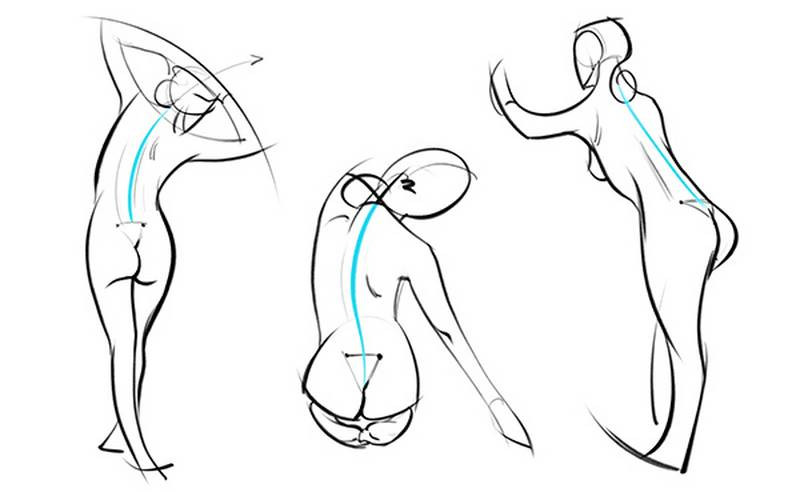
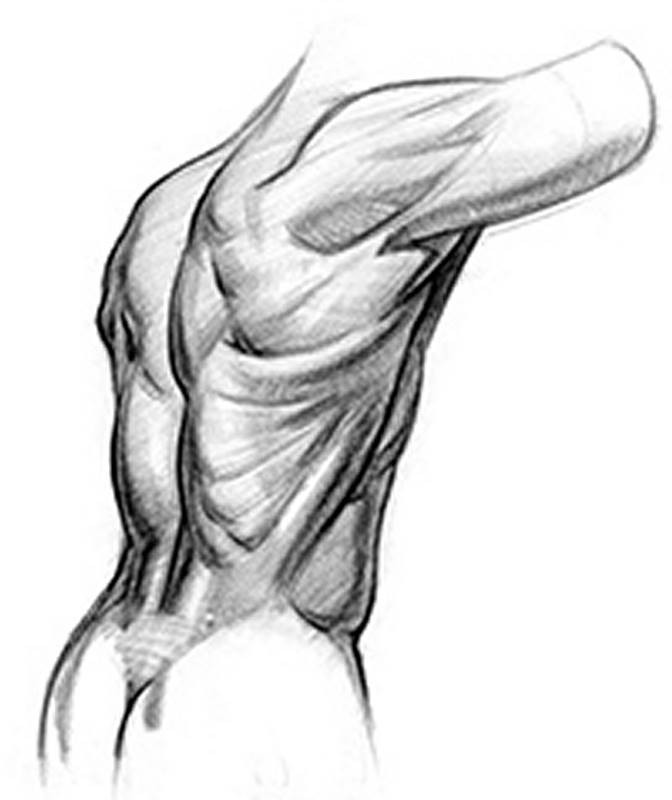
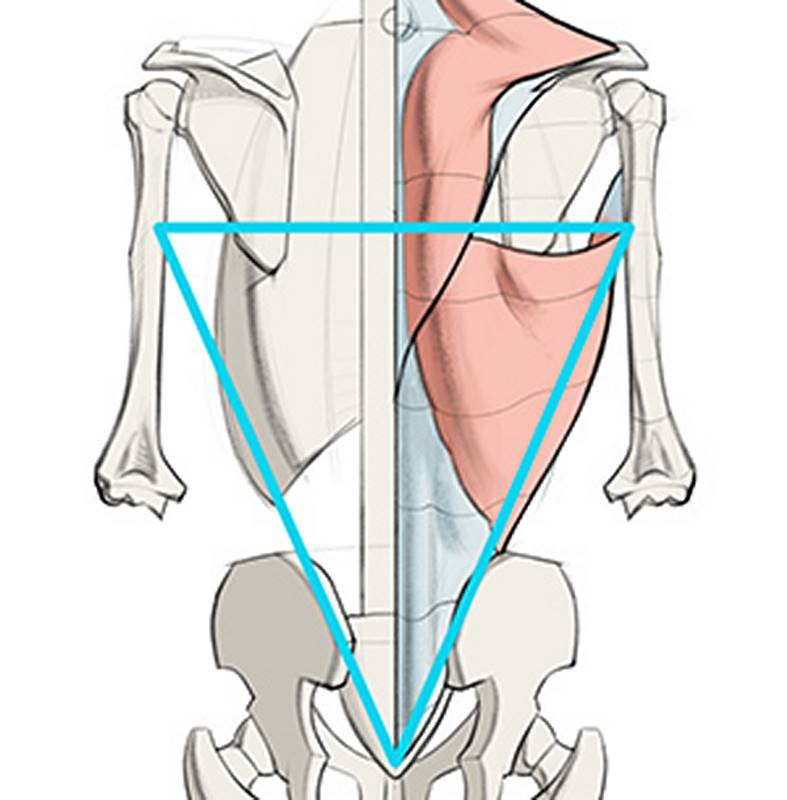
Your assignment is to do quicksketch drawings showing the motion and form of the lats and erector spinae.

Make sure you’re identifying the forms of the muscles that are visible. If you can see the ribs or serratus through the lats, show those. If the lat is flexed and you can see a long cylinder on the side, clearly show that form.

Remember, a “quicksketch” doesn’t mean it has to be a simple gesture or contour drawing. You can show 3d forms in a quicksketch like we did in the mannequinization lesson. And a quicksketch doesn't limit you to 3 minutes. You can spend 10-20 minutes on a quicksketch if you need to. 20 minutes is quick compared to how long we’d spend on a long drawing. The objective isn’t to draw quickly. It’s to show a clear representation of the forms of the body and motion of the pose, while not wasting time on details.

I’ve provided reference photos in the Downloads tab. Download those and start drawing!

Submit your assignments here
Drop images here to attach them to the message
Newest
@syodraws
I haven't done all of the assignment photos (yet), but here is the first one I did. I want to make sure I'm going in the right direction, as far as the assignment directions go. I am particularly concerned with whether or not I properly communicated the MOTION of the lower-back muscles.
Write reply...
Drop images here to attach them to the message
Steve Lenze
The thing you need to do before you even start, is to look at what the body is doing. Example: he is pulling his leg toward his chest. This is causing the Latissimus muscle to tighten as well as the muscles of the upper back and the bicep to bulge. Also, the abdomen is pinching, this means the lower back is stretching. You are showing wrinkles and compression in the lower back where there is none. I did a quick sketch to show you what I mean.
Reply
@palyo
Hi everyone! These are my drawings for this lesson's assignment. Personally i found the front pose extremely hard for some reason, i didn't know how to approach the insertion properly . Also , the "pushing" pose was really tricky to draw because of the sudden twist in the upperback area. Anyway, i would really appreciate any kind of critique/advice.
Write reply...
Drop images here to attach them to the message
@syodraws
Hi :) A couple of points on the pushing pose: 1) You are using rhythm lines and gesture to communicate the movement of the legs and arms. That is good :) 2) The bulbous forms of the erector spinae are a little off-center from the spine curve. 3) In general, your drawings feel quite sketchy. I notice you use cross-contours, which is good, but I think you should take a little more time to clarify the 3-dimensional forms that the anatomy takes in each pose of your drawings. You don't necessarily have to use shading (although quick shading can help a lot)--you can use cross-contours as you have been doing. To quote Proko, "Remember, a “quicksketch” doesn’t mean it has to be a simple gesture or contour drawing. You can show 3d forms in a quicksketch like we did in the mannequinization lesson. And a quicksketch doesn't limit you to 3 minutes. You can spend 10-20 minutes on a quicksketch if you need to. 20 minutes is quick compared to how long we’d spend on a long drawing. The objective isn’t to draw quickly. It’s to show a clear representation of the forms of the body and motion of the pose, while not wasting time on details." I hope these help you. If there is anything that needs clarification, please let me know. Have a good day :D
Reply
@dinchen
difficult for me to complete the assignment😥😥
Write reply...
Drop images here to attach them to the message
@koots
Also take note of the proportions, bony landmarks and perspective. Try to simplify everything into basic 3d shapes that are easy to replicate and rotate from different angles
Reply
@koots
These are good and can use some more lil more tweaks. Some of the figure's perspective like the bottom two ones do. For example for the bottom left corner the whole figure is basically standing upright rather than slightly leaning and maybe reaching out to something. And for the bottom right picture, the bottom right side of her ribcage is basically flattened out. If you look closely in the bottom right reference the erector spinae is kinda overlapping the lats (the lats is still supposed to be seen despite the overlap) but for yours the lats are hidden and the erector spinae is too big and bulky. Great work keep practicing!
Reply
Lenserd martell
The assignment is so good that I'm worried if I can upload it.
Write reply...
Drop images here to attach them to the message
@viny
10mo
and done
Write reply...
Drop images here to attach them to the message
Mike Karcz
First attempt at the back. I appreciate any critiques!
Write reply...
Drop images here to attach them to the message
Jesper Axelsson
Hi @Mike Karcz, I think this is a nice drawing! I feel like you have nice rhythm in the linework, pretty clear forms and the anatomy looks quite accurate. - Since this is an anatomy study it would be nice if you showed your understanding of the anatomy more clearly. I get the feeling that your copying the details of the muscle that you're seeing, rather than finding the entire muscle; where it originates and inserts, and all inbetween. Try to treat it a bit like the mannequinization exercise in the Figure Drawing Fundamentals course, but now you have a much more complex mannequin, with each piece of anatomy being a building block (just don't forget gesture when you do this). - I would encourage you to practice drawing figures, and the anatomical area of focus, from imagination. It's a great way to test & deepen your knowledge. I like following this routine: 1. Draw from imagination 2. Check were I'm off, with reference. Studying the part I got wrong. 3. Draw again from imagination. - Keep an extra eye out on proportion, especially top to bottom and side to side. Top to bottom: The butt looks a bit big compared to the torso. Side to side: The arm closer to us looks a bit small. You seem to have made it the same size as the distant arm, but it should be larger since it's closer to us. The body is symmetrical from side to side (i.e the left buttocks is symmetrical with the right). Be extra aware of this symmetry when you're drawing. The right side of his butt, looks a little large. It should be smaller than his left, since it's further from us, as with the arms. Hope this helps :) Keep up the good work!
Reply
Samuel Parker
Lower back quicksketches
Write reply...
Drop images here to attach them to the message
Tsotne Shonia
I wonder if I should've used values to show form🤔 Doing it with lines is incredibely difficult
Write reply...
Drop images here to attach them to the message
TK
11mo
Here's my assignment for this lesson. Easily the most challenging so far.
Write reply...
Drop images here to attach them to the message
Kimi
1yr
Write reply...
Drop images here to attach them to the message
Jesper Axelsson
Hi @Kimi, nice studies! The corrections you did look really good. I think they amped up the realism with better proportions, and a stronger sense of form and gesture. - I did a paintover with some suggestions. - I would encourage you to draw some poses of these muscles from imagination and post those drawings in your reply. Drawing from imagination is a good way to check and improve your understanding of the anatomy. For example, the two ovoid forms of the erector spinae feel a tiny bit like they're floating, not clearly anchoring to the pelvis and the top left drawing in image 2, shows some uncertainty in how the latissimus inserts into the humerus. - I looked through your album and your instagram posts; nice illustrations! To take you drawings to the next level I think you benefit from revisiting some of the exercises in the Figure Drawing Fundamentals course. Particularly the gesture quicksketch exercise. You seem to have a pretty good understanding of form, but the gesture feels weaker. Improving the gesture in your figure drawings will also improve the shape design in the characters you're drawing I think. You can use your understanding of gesture, to create a flow between the shapes you draw. Check out Vixiearts on instagram for example https://www.instagram.com/vixiearts/. You seem to be working in a similar style. Notice how the compositions have a very nice flow. It might be a bit too "flowy" for your taste, but a dose of that flow could really improve your work I think. If you feel like revisiting gesture is a good idea, feel free to post some gesture quicksketches and tag me @Jesper Axelsson in that post. Hope this helps :) Keep up the good work!
Reply
Margaret Langston
Rest of the lower back assignment. Prof P. , I will come back and do more on my own. Following the demos gives me more confidence.
Write reply...
Drop images here to attach them to the message
Margaret Langston
Happy Thanksgiving! I did two of these on my own off and on over the day, got a little detailed. I need every tool on this course to "visualize" these muscles. I'm trying not to make mistakes. I will probably cave and copy Prof P's demos for the rest of the weekend.
Write reply...
Drop images here to attach them to the message
@kugeltisch
My attempts at the assignment, done with a ballpoint pen, had allot of fun, open for critic :D
Write reply...
Drop images here to attach them to the message
Camellito
Here are my drawing assinments.
Write reply...
Drop images here to attach them to the message
Jesper Axelsson
Hi @Camellito, really nice studies! Image 1: - You can use the upper line of the latissimus to emphasize the volume of the back. In the reference (and in Stan's example drawing) I feel like it's wrapping around two almost cylindrical forms. In your drawing, the back feels a bit flatter. - I think the upper line of the latissimus might be going a little high on the teres major, compared to the reference. Image 2: The lower boarder doesn't look like it's aiming for the upper humerus as it should (compare with Stan's example drawing). I found the lat insertion really tricky, since it's twisting. It can be worth doing some simplified drawings from imagination where you really try to understand the twist. It helps me to think of the lat as two lines; the upper and lower boarder. The lower inserts superior to the upper. The lower is the one that dives in and determines the twist. Image 3: You seem to have enveloped the lat with a darker line. But the upper line doesn't align with the superior border of the lat, but rather the bottom of infraspinatus and the trapezius. Maybe this was intentional, but just wanted to let you know in case it wasn't. Overall drawing tip: The figures feel a little thick and stiff compared to the reference. I think you could make the poses more dynamic by paying more attention to the shape of the contour and the difference between the sides. How the shape goes from thick to thin; how one side is stretched the other compressed, straight vs curves; convex vs concave. Hope this helps :) Keep up the good work!
Reply
Alexis Riviere
This time, no fooling around with shading. I tried to draw just the forms. I'm not confident about the muscles on the back of the female models, since they're so difficult to see. But I have yet to check the example videos and the critiques. Hopefully it will clear things up. Generally it does.
Write reply...
Drop images here to attach them to the message
Madelyn Kuipers
Assignment 01 - Lower Back I loved feeling out the gesture for these muscles. I'm still not totally confident on their exact placements so feedback and critiques welcome!
Write reply...
Drop images here to attach them to the message
@zshn
I found this assignment quite challenging. I couldn't bring myself to do a regular neat looking figure study so I focused on studying the placement of muscles. Sorry for messines. I'd really appreciate feedback/critique!
Write reply...
Drop images here to attach them to the message
Dondi Gancayco
this is very good, i love the sharp, angular shape language
Reply
Mario Sanchez
Amazing. Post more. I like how you use mostly straight lines and criate shapes with appeal for me
Reply
Nihi Sus
Back hard, still a bit murky, hopefully getting better with learning the rest of the muscles there
Write reply...
Drop images here to attach them to the message
@zshn
Woah, your line quality is neat! Examples in E, H, G have too big of a head. I think you're doing great, and if you're gonna pay a bit more attention to proportions it will pay off!
Reply
@hiflow
That was hard.
Write reply...
Drop images here to attach them to the message
Jesper Axelsson
Hi @hiflow, nice studies! Overall I think they are very succesful. The anatomy seems pretty accurate to me, and the figures are well drawn. - The shading doesn't reveal the forms very well. I think this mainly has to do with the quality of the terminator edge and the placement of tones. In #6 for example, her thigh could be thought of as a large cylinder. A cylinder has a large soft transition at the terminator. In your drawing, you have a sharp line, which suggests to the viewer that the form has a sharp turn there. In the same image you've added a sliver of tone in the waist, that makes it look like there's a severe dip/bulge in the form there. Looking at the reference that form change is much more subtle and I would say it's halftone rather than shadow. It helps to think of primary, secondary and tertiary(=3rd level) forms. In this image the primary forms could be conceptualized as a sphere for the hip and an egg/cylinder for the ribcage. These forms are primary and should dominate. When you add details (secondary and tertiary forms) it's important to conform to these primary forms you've created. Thinking of primary forms also helps with placing the terminator edge. In #1 you might have wanted to place to terminator edge differently to reveal the spherical form of the butt. Hope this helps :) Keep up the good work!
Reply
Ria Kumo
All critiques welcomed! Thank you :3
Write reply...
Drop images here to attach them to the message
Give a gift
Give a gift card for art students to use on anything in the Proko store.
Or gift this course:
About instructor
Founder of Proko, artist and teacher of drawing, painting, and anatomy. I try to make my lessons fun and ultra packed with information.
Help!
Browse the FAQs or our more detailed Documentation. If you still need help or to contact us for any reason, drop us a line and we’ll get back to you as soon as possible!
Your name
Email
Message