


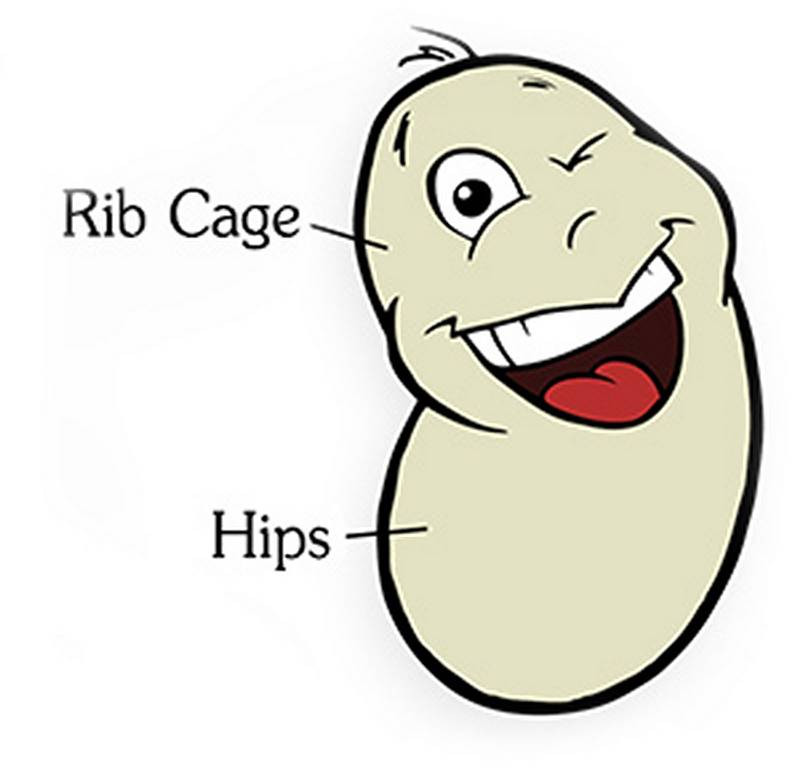
There are 3 major masses connected by the spine. Head, rib cage and pelvis. In this episode we'll take a look at the two that make up the torso.
What is the bean?
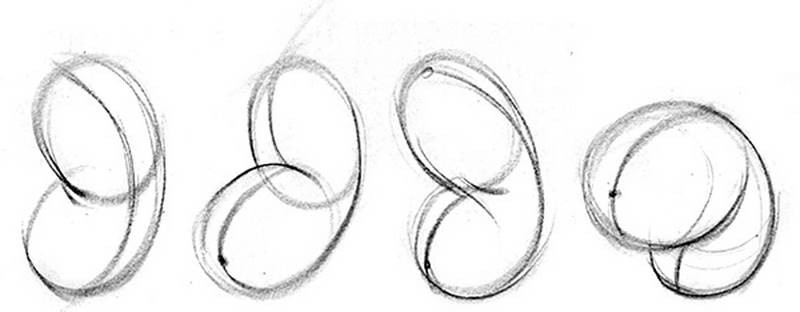
The torso could initially be thought of as a bean. We have two forms, one for the rib cage and another for the hips.
You can even just imagine a sock with two balls in it.. Whatever analogy you want to use. Basically we have two hard forms with a softer "skin" around them.
The balls can twist, tilt side to side, and lean forward or backward. The cloth of the sock will stretch, pinch, or twist accordingly, which represents the way the skin would react to the same motion on a human body.
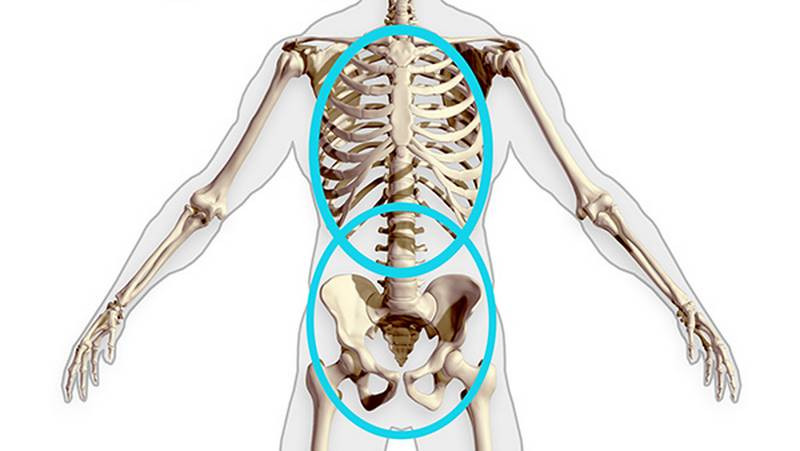
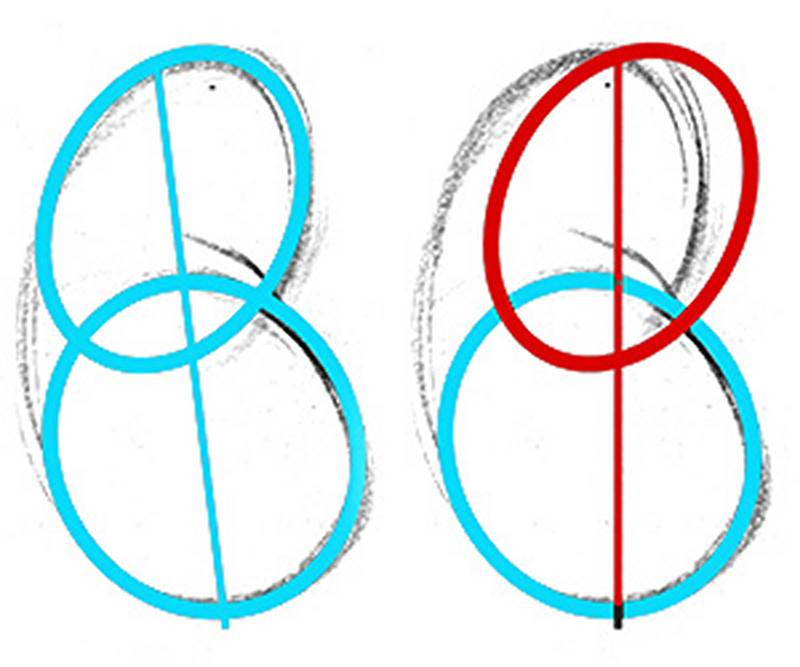
To be more specific about what these ovals actually represent, here's how I think of it. The rib cage isn't a perfect oval. The curve stops at around the 10th rib and then swings back up to the sternum. But, to simplify it, I'll continue the curves of the sides and use an oval.
The oval of the hips actually includes the area above the hips. It continues up the oblique and meets the top oval at the thin part of the waist. As a result, the two ovals will overlap.
Why practice the bean?
The concept I'll be talking about today is a very simplified approach. It obviously doesn't get you a realistic figure drawing, but it's the concepts behind it that we're learning. Then once we understand these concepts we can apply them to a realistic more complex approach.
Sometimes what I have my students do in my figure drawing class is a 20 minute session of 30 second poses just doing the beans. I tell them, they're not drawing a person. Don't think of this as a figure drawing. Instead it's an analogy for the body. These are little notes that you could use later on in longer figure drawings. It's the form of the torso represented in the simplest way. The reason we do this is to eliminate all details and not get distracted by contours or smaller forms. We do it to isolate what's important in capturing the motion and mass of the torso.
How to practice the bean
Take poses and draw the equivalent bean at its extreme. Take note of that last part. You're drawing an extreme version of the pose. So if there is a subtle twist, make that twist even "twistier". A lean to the right? Lean it further.
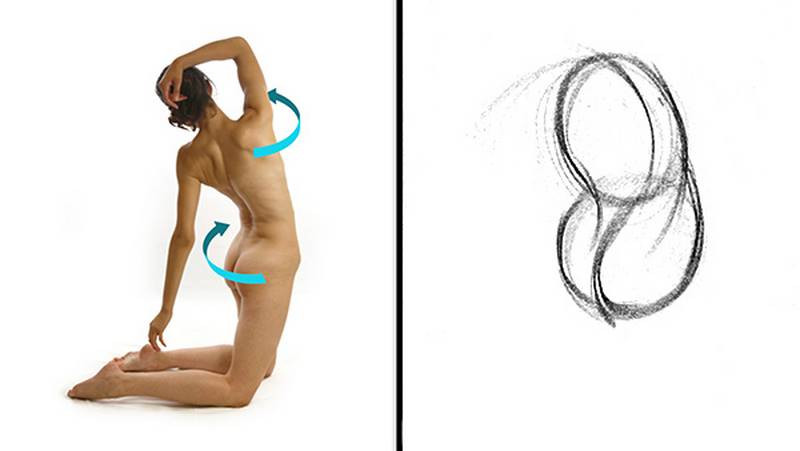
The process of exaggerating these elements creates a habit of actually observing each element. The things we look for to identify in the bean are:
- Tilt side to side
- Lean forward and backward
- Twisting of the spine
- Foreshortening

Tilt side to side
Let's start with a tilt from side to side. When there is a tilt, or a curvature of the spine towards one side, there will always be a compressed side and a stretched side. As these points move closer to each other, everything between them bunches up. You'll see wrinkles going across the torso.
On the other side, these points move away from each other stretching everything between them.
I'll always try to emphasize the stretching here and play down any kind of muscular bumps that would take away from the stretching effect.
Here's a pose with a subtle tilt. Find the angle of the rib cage. Angle of the hips, considering also the position relative to the rib cage.
It's a common mistake to always put the two forms one on top of the other. Observe the angle from the top of the rib cage to the bottom of the hips.
Adding an action line will also help to identify this relationship.
A centerline will emphasize the c curve of this pose and show that it is slightly facing towards the left, since the center is closer to the left edge of the form.

Lean forward and backward
The second action is leaning forward or backward. It's pretty much the same effect of a tilt. The side where the points are compressing will get the pinch and the opposite side will get a stretch. The only difference is that now the centerline is on the stretching or pinching side.
If the person leans towards us, there will be a crease on the front plane. And the centerline itself also has a pinch. This sharp corner creates the tension in the front plane.
On the back, show the stretching gesture line.
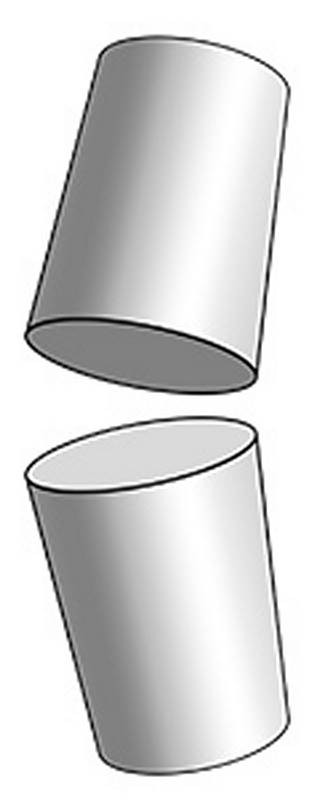
When the person leans back away from us, it's a bit trickier to indicate with a bean. This looks too similar to a tilt. It's hard to show this because the pinch is back there. It's hidden from us. The only way to show that the forms are going away from us is with some cross contour lines, which indicate foreshortening similar to these cylinders.
Twisting the spine
During a twisting motion, the skin will be pulled from one side of the form to the other. Let's look at what happens to this towel when I twist it. The string represents the centerline. At the top the plane twists this way and at the bottom the other way. On this side the lines will overlap from the top, on the other side they overlap from the bottom. Things are being pulled across the form to these corners. Sometimes it's confusing to figure out which side will overlap, which one is in front and which is behind.
Basically, the two corners that are closer to us will have the lines that overlap the corners further from us. Makes sense because objects that are closer to us are in front of objects further from us. It's basic perspective.
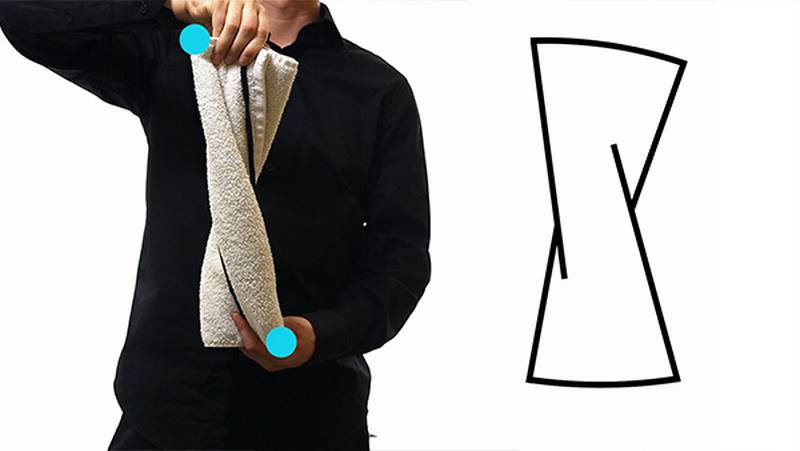
The centerline is now an S shape rather than a C during a tilt or lean.
So let's take a look at two angles of the twist with the bean.
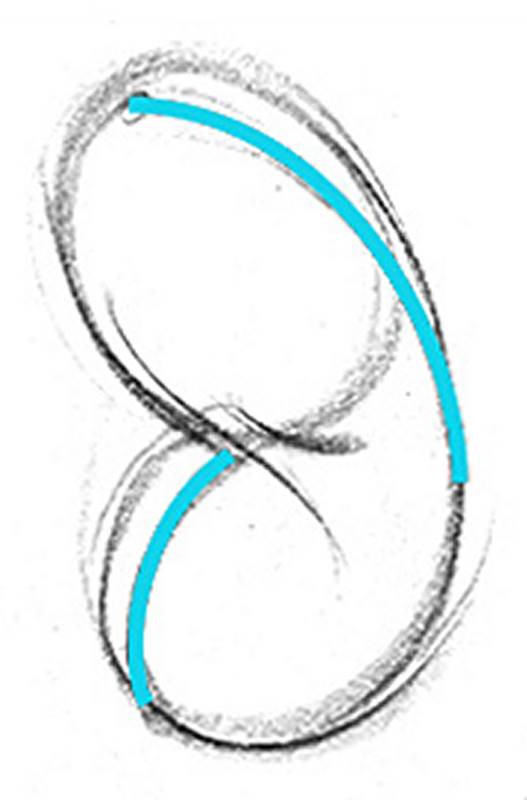
In this pose we're looking at a twisting torso from the side. This means we see the centerline of the front plane at the top and the centerline of the back at the bottom. There's a transition from one to the other. As the front plane gets thinner and the center line starts to wrap behind, on the other side the spine starts to come out from behind and twisting towards us. So only a portion of the centerline is visible on each side.
When looking at a twist from the front or back you only see one of the planes, but it's being twisted. In this pose, the pit of the neck is closer to the left side of her body and the pubic bone is turning toward the right side.
Foreshortening
When a figure is extremely foreshortened you'll observe two changes. The first is a change of the oval shapes that indicate the rib cage and hips. We're no longer seeing the full length, so the ovals will be shorter. The second change is the position relationship between these ovals. One will overlap the other and sometimes cover up most of it. This shows that the rib cage is directly in front of the hips so the torso is pointing directly toward us.
In the pose below, she's leaning toward us, creating a lot of foreshortening. I'll make sure to keep the oval more circular and overlap them a bit more than usual. I like to put a dot on the north and south poles of these forms. This helps me imagine how to wrap the centerline over the top plane. I also see a twist since the belly button is pointing to the left.

Draw the Bean
This week, practice drawing the bean from the pose photos at proko.com/poses. It shouldn’t take you more than 30 seconds to a minute for each pose. Look for tilting, leaning, twisting, and foreshortening. Exaggerate the motion and draw the two volumes, the skin in between, and the centerline.
Post your work and participate.


